
Resource
Focus gauge sheet
Laser focus scrap grid for first jobs.
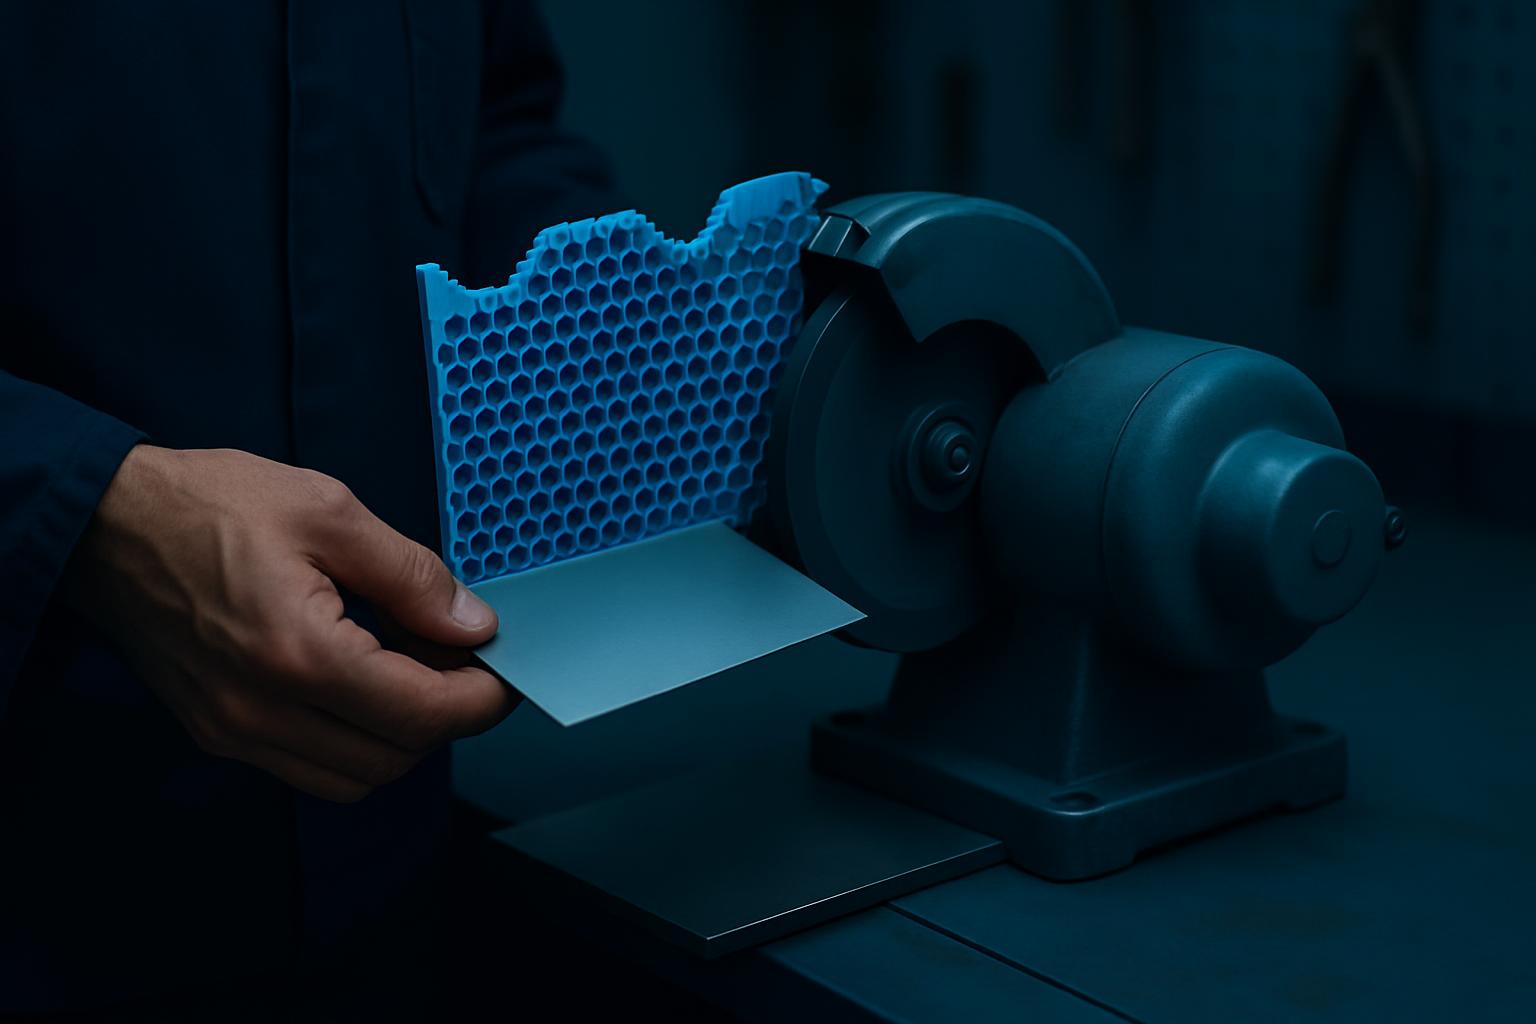
Who uses a focus gauge sheet?
Laser team leads, FET college instructors, and plant buyers at malls like Cresta and Tyger Valley reach for a focus gauge sheet on stressful start-up shifts. Anyone running their first CO2 or fibre laser cutter in an SA shop knows that humidity from a coastal winter or Highveld static means no two benches cut quite the same. The focus gauge sheet sits right next to your laser head, marking out the right Z heights using 230 V power, so your tech isn’t wasting half a day on guesswork.
Even experienced operators at Germiston yards keep one close to cut down on scrap and keep jobs moving when there's loadshedding or a last-minute change comes through. It's a lot less frustration compared to fiddling with rulers or block offcuts.
How to use each step and field
Start with the focus gauge sheet on your bench before production. Most are A4 aluminium or steel offcuts, marked in millimetre zones from 0 up to at least 50 mm. Place it under the laser head and run your focus test with the bed at its home position. Move through the grid, firing a short pulse at each zone. The sharpest, cleanest mark on your gauge sheet shows your ideal focal height.
Make sure your supervisor checks your grid before a full batch job. Write your material, machine, and date in the blanks. Different board stock or changing nozzles means every new sheet tells a slightly different story. For shared shops at places like Gateway’s trade bay, label your grid clearly so your results don’t get mixed with someone else’s run.
When you’re done, hang the focus gauge near your laser or keep it in your project folder for proof in case a cut job gets questioned.
Worked example: setting up a new operator
Thabo is a trainee at a Riverside mall sign shop. His manager brings out the focus gauge sheet on his first morning, since the bench was shifted after a power cut. They place the gauge sheet under the head, pulse across the grid, and record the cleanest points for 3 mm acrylic and 6 mm ply. Thabo labels the sheet with his date and initials. Next time a sheet job comes up, there’s no debate about the right Z height. They avoid two scrap panels and keep the day on track.
Shops in the Sunnyrock Trade Yard do the same weekly, especially after a deep clean or moving the machine.
Common mistakes with focus gauge sheets
Using a warped or dirty sheet confuses the results, so always check it’s clean. Don’t skip marking the date and material, otherwise you’ll waste time rerunning tests. Some teams forget to match the gauge zone to the actual material thickness, leading to poor cuts or burns.
Another mistake is sharing a single gauge between machines with different lens setups. Each laser cutter needs its own, kept handy next to the machine. Don’t try save time skipping the test after moving your bed, it’s nearly always worth the five minutes.
Book a showroom look
Write through our contact form with the showroom city and the kit family you want to see on the bench.