
Layout
Pack and Ship Kit Layout
Void fill, labels, and bench scales for maker dispatch from a garage or small unit.
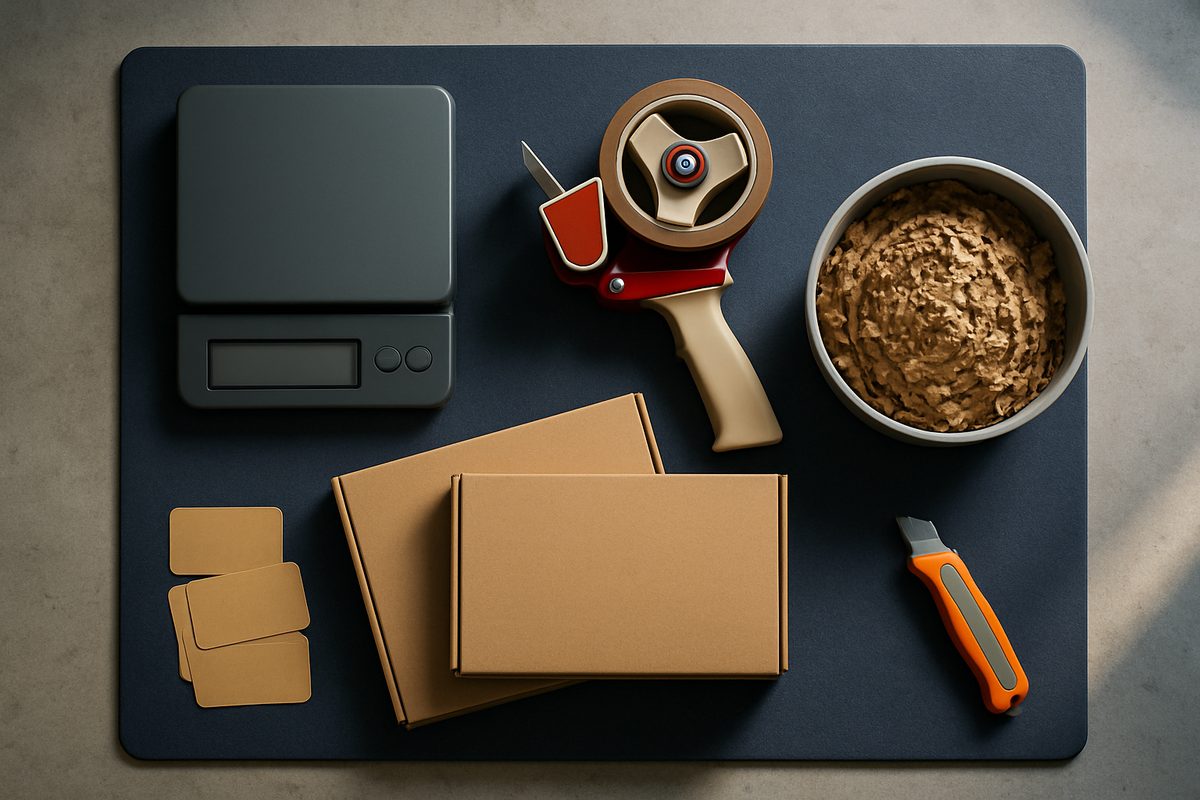
Bench Footprint and Core Placement
Every Pack and Ship Kit layout trims wasted moves. Plan for a 0.6 metre shelf run, deep enough to hold the bench scale fully supported, with enough room for a label roll on its side. Kit components sit within arm’s reach to cut walking: scales to the left, central tape gun holder, and label dispenser right, depending on your dominant hand. A single 1.5 metre power strip underneath the shelf powers the scale and any thermal label printers. Check that the plug is not blocked by bins or tray stacks, you don't want someone reaching around boxes with a live cord.
Tray height for this layout should not exceed 40 cm, even with heavy void fill bags. Place the fragile sticker pack between labels and tape rolls, close to eye level. It’s easy to double the same sticker if you rush, so keep stock neat and flat. For a typical SA unit or garage, there's no need to build new fittings if you start with a clear shelf and tag the cord route underneath.
Tray Map for Workflow
The tray map for the Pack and Ship Kit is simple, so team members can reset the bench in minutes. Use three trays: one for inbound products waiting to be packed, one for outbound parcels ready for courier, and a third for packing material offcuts. Place scale and tape gun on the main shelf, with a small gap for sliding labels through. Never pile trays above shoulder height.
Label tray fronts by category, it keeps even part-timers on target. The tray map should match your own local courier checklist for accepted parcel shapes and weights. If you're new, start with parcels under 10 kg until you get the hang of your own rhythm.
- Inbound product tray (left)
- Main shelf: scale, tape gun, label roll
- Void fill tray (below shelf)
- Outbound tray (right)
Power and Safety for Pack and Ship
Layout the Pack and Ship Kit so your plug point is tucked well out of the workflow but reachable for cleaning and checks. Route the power strip cable along the back edge using cable clips or tape, never loose on the floor. Check for frayed cords monthly, and keep the calibration weight close in a marked tray or pocket. No extra power sources are needed: 1 strip runs scale and printer in almost every SA unit.
Select a location with good light so you see label print errors and uneven tape. If static is a problem from synthetic void fill, earth the strip if you're using a metal shelf. That keeps your team clear for faster pick-and-pack, less faffing about with lost labels or tangled wires.
What our Starter Kit customers say
Verified Google reviews
Email the ByThis shortlist team
Tell us the city, the station sentence, and which pick you already tried. We reply from Sunnyrock with a shortlist that fits the week ahead.