
Checklist
Laser Bench Kit Checklist
Safe-start accessories around a compact CO2 bench laser for makers who want cut confidence.
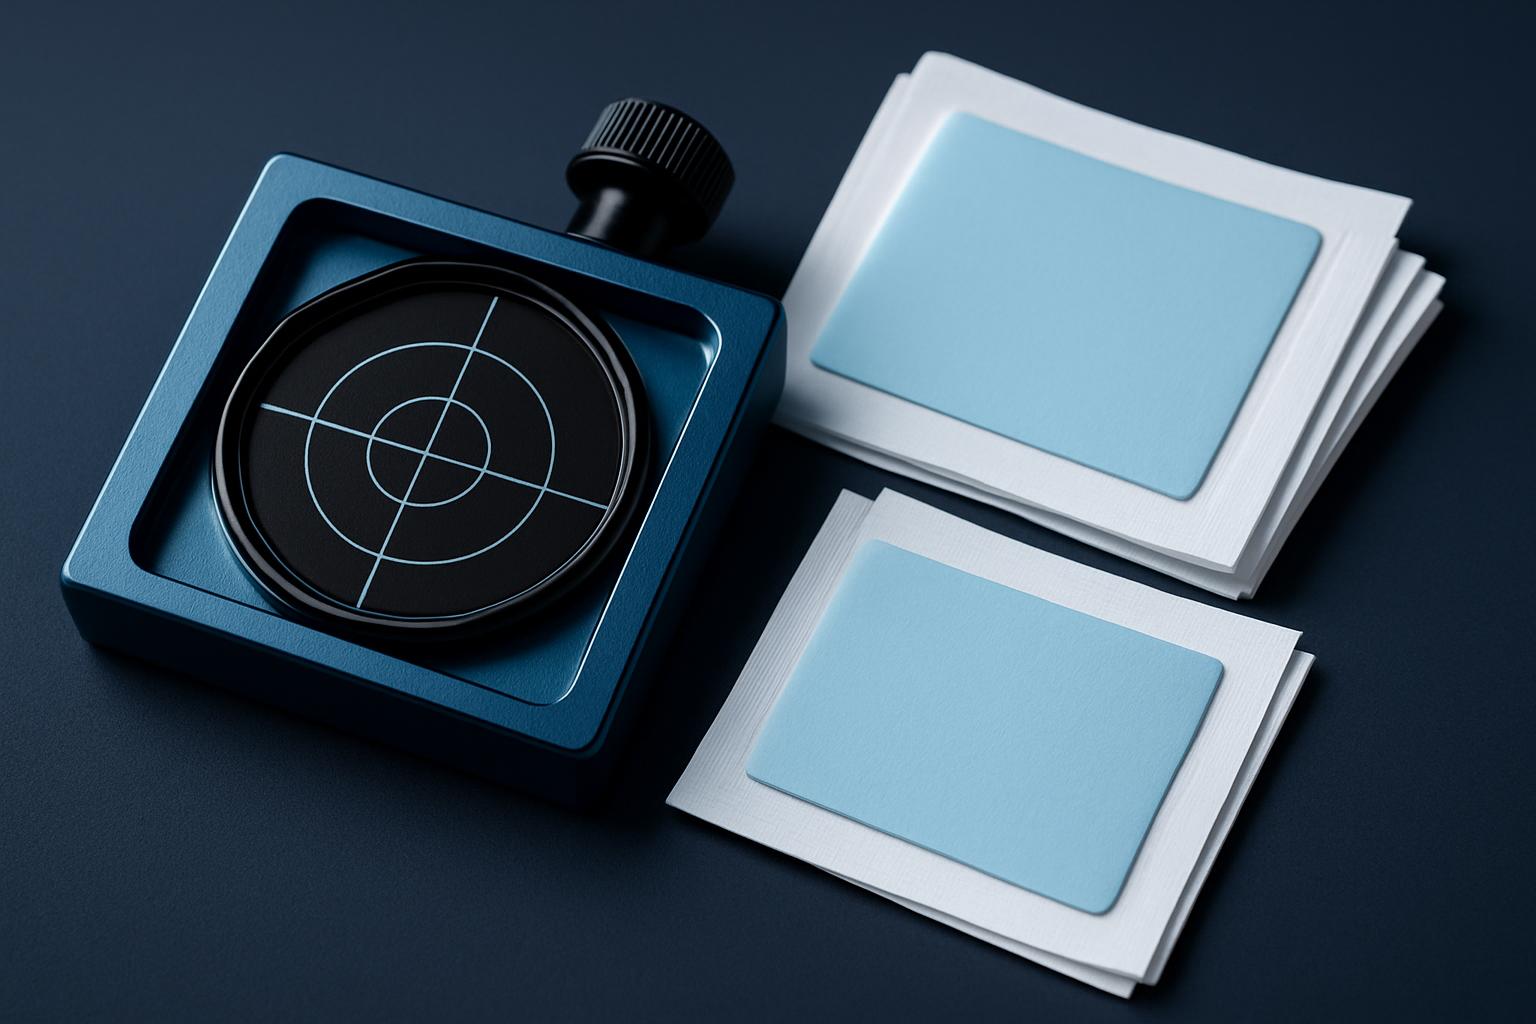
Laser Bench Kit Checklist Routine
A compact CO2 bench laser needs more than just its quick guide. Risk runs high if you miss a step. The Laser Bench Kit checklist sets Monday open and Friday close routines with fire safety, focus, and extraction as the main points. Your team shares this list to keep weekend makers and FET school labs safe and organised. Following these steps cuts out confusion and helps every operator leave the bench ready for the next shift.
Monday open: start of week steps
Start Mondays by walking through this kit. Clear 0.8 x 1.2 metres on your bench. Check access around extraction hose routes and verify that the inline fan is ready. Place the fire blanket and kill-switch cue cards within arm’s reach. Use the focus gauge with a piece of scrap acrylic to set the lens height. Run a quick first cut using the material test grid card on both plywood and acrylic if your shop handles both. Wipe the lens with the supplied kit and check for visible dust. You might forget a step when you're in a hurry, but pulling the checklist out every Monday morning builds good habits.
- Clear 0.8 x 1.2 m zone around the laser
- Check and fit extraction hose clips
- Set fire blanket and kill-switch cards in reach
- Test focus with gauge and scrap acrylic
- Run material test grid card
- Wipe lens with included kit
During the week: safe operation pointers
Supervision stays required for all school shifts. Before changing material types, run a single low-power pass to check for flare or residue. Make a habit of keeping only the current job’s material on the bench. If you see any smoke backing up the hose or spot leaks, pause work and reattach hose clips. Always use the bench-placed cards to remind all users where the fire blanket and kill-switch are.
Friday close: shut down and handover
At the end of your last shift on Friday, run this checklist for safe close. Remove all leftover materials, sweep the laser zone, and stow any spare lens wipes in the kit tray. The fire blanket and cue cards stay visible, never pack them away. Detach extraction hoses only if the whole bench area resets over the weekend; otherwise, keep connections tight. Record any laser faults in the handover log, even if they seemed small at the time. Your next crew will read those notes before Monday open.
- Remove scrap and clean the bench zone
- Restock lens wipes and check focus gauge
- Leave fire blanket and cue cards in view
- Secure extraction hoses or detach if needed
- Log machine status and any faults
Laser Bench Kit checklist contents
Your kit supports every step above. It includes a focus gauge, acrylic scrap for first test, fire blanket, kill-switch cue cards, hose clips sized for SA benches, grid cards for cut tests, and a lens wipe kit. The checklist follows gear used in real South African workshops. Every part is chosen for size, fit, and easy restart next week.
- Focus gauge and scrap acrylic
- Fire blanket and kill-switch cue cards
- Extraction hose clips
- Material test grid cards for plywood and acrylic
- Lens wipe kit
What our Starter Kit customers say
Verified Google reviews
Email the ByThis shortlist team
Tell us the city, the station sentence, and which pick you already tried. We reply from Sunnyrock with a shortlist that fits the week ahead.