
Ms Puleng Ngqula · Care and Calibration
Shadow foam that keeps count
Bit silhouettes that catch missing edges on real South African benches.
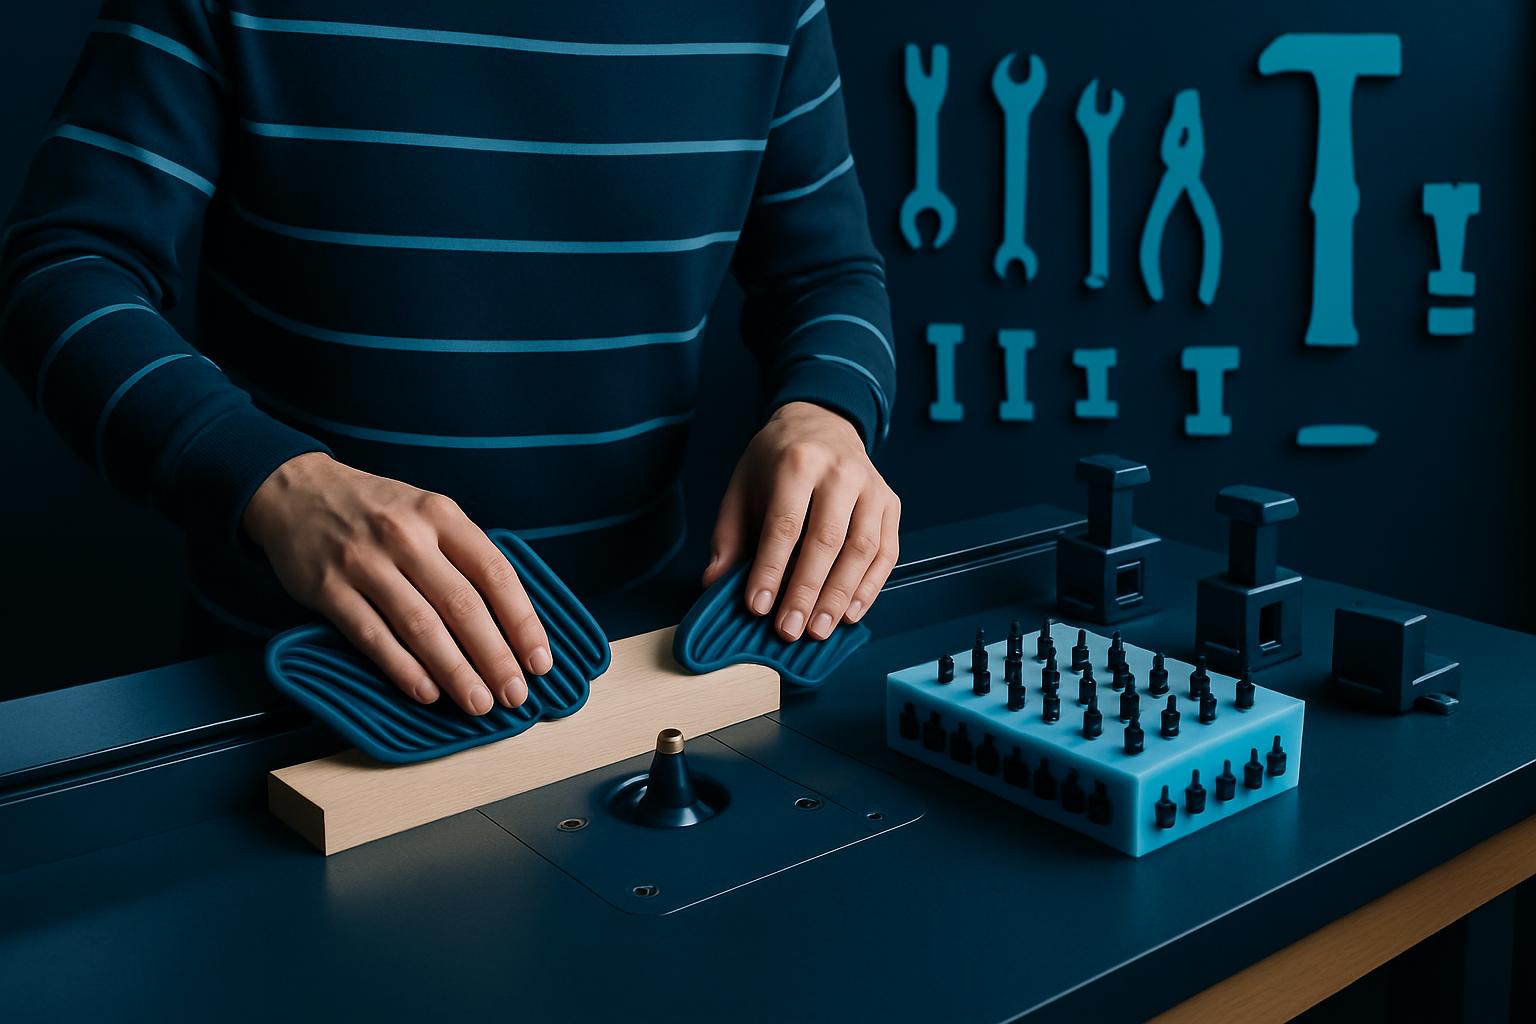
Problem: Tools that wander, kits that tire
Every South African tech or maintenance bench buys kits that start neat and end up loose, especially when teams shift between jobs or FET college bins get shuffled. Tools find new homes behind CNC frames or under offcuts by Friday. Lost bits slow down production lines in Germiston or force you to send someone running at midday through power-cut traffic.
Shadow foam promises a spot for every tool. But most cheap sheets buckle or darken in Highveld dust, and accurate tracking is lost within a month. In coastal shops at Boardwalk or Gateway, humidity pulls at the glue, and edges curl. A shadow that can’t keep it’s shape causes more stress than no map at all.
Local floor trouble: dust, damp, and bench sharing
You’ll see it in any trade bay at Tyger Valley or Menlyn: shop air brings fine sparks and grit that settle in open tool foam. Floors drag in alu swarf or MDF offcuts, then aircons circulate fragments right into the foam. Low-cost inserts stain fast, and adhesives give up each time the foam moves between benches.
Benches are not private in SA. Day teams and side hustlers share space, and the kit needs to hold up after 20 swaps. Good foam needs a denser cell with sealed edges, cut for real bits, not pretty shapes from a stock catalogue.
Method: Cutting foam that matches your week
Start by listing every tool that actually gets used by your operator or tech. Put aside the odd bits that never leave the bottom. In Germiston yards, most benches settle on 15-25 key items, bits, hex, nippers, measuring blocks, the caliper no one admits they borrow. Set them out for layout in normal weekday light, not Saturday sun.
Trace each one onto high-density foam, leaving at least 10 mm between items. Use a soldering iron for tight curves, or a sharp OLFA knife for straight lines. If you’re in a mall bay at Riverside or Cresta, pick foam dense enough to stand upright, so edges don’t sag into the dust. Mark odd custom cuts (like router bits or DTF heads) with small paint dots so they remain easy to check after dusk.
- Do a dry run with tools placed before cutting foam.
- Cut labels into foam, don’t rely on sticky tags.
- Photograph your finished foam with tools in place, keep a record to email new staff.
How to record and catch loss early
Each Monday, do a quick cell-by-cell scan before opening up for shared teams. In plant settings at sites like Sunnyrock Trade Yard, pair the foam with visual checklists: snap a pic after first setup, then again on Fridays. If something’s missing, it’s a lot easier to spot when comparing these quick photos. Email the records to whoever’s on shift next; saves finger-pointing and spares you late call-outs.
Some shops add a notebook in the foam tray: write the odd tool loan, who used what on which project. Don’t overthink it, just note the time, tool, and bay. The idea is to keep the count straight and reduce loss, not trap anyone.
Short example: Side Hustle Print, Highveld
At Side Hustle Print, running out of a small Cresta trade bay, the owner tried three foam sources before settling on dense, closed-cell shadow foam for 18 daily tools, mostly DTF heads, rulers, and pliers. She cut each pocket with a soldering tip and used white paint to trace the edges. After one month of sharing the bay with student teams from the local FET college, only one tool had gone missing. The foam held shape despite the grit, and quick checks became part of the 7:00 handover. Shadow foam that kept count let her spend less time chasing bits, more time sending jobs out.
Tell us about your bench
Share the bench you run and the week you are packing for. Sunnyrock replies with a considered shortlist, not a megacatalogue.