
Ms Nuraan Arendse · Showroom host
Hold-downs before hero cuts
Why first CNC weeks fail without clamps.
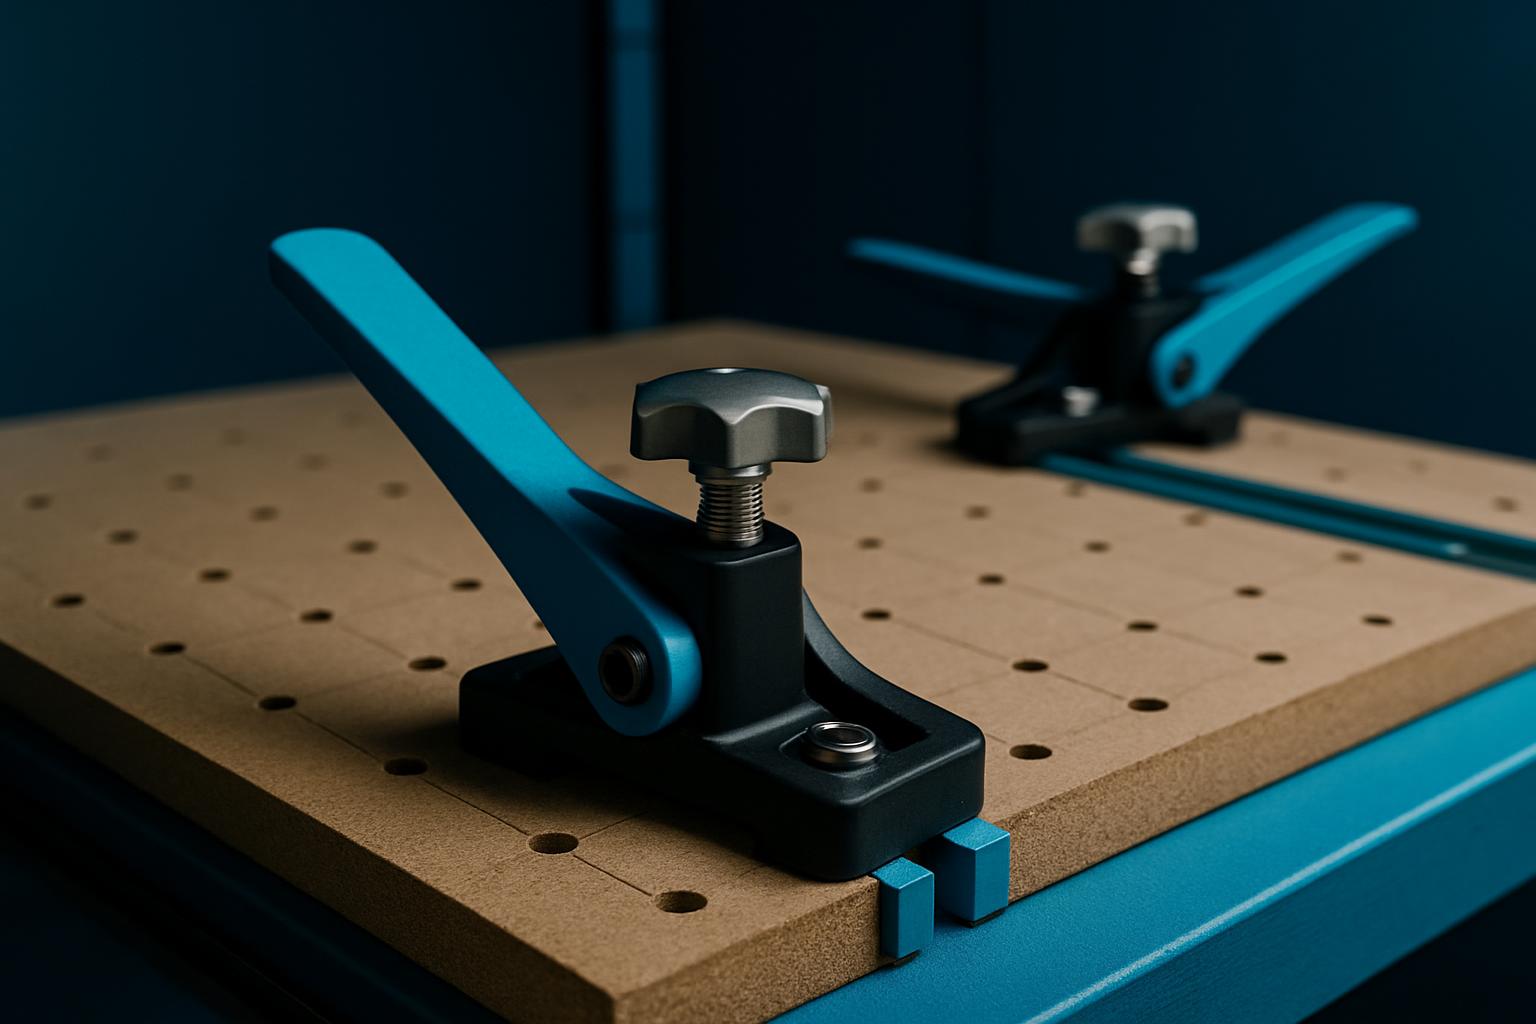
The Problem: Why Hold-downs Are Critical
In South African shops, first-year CNC teams are often tempted to go straight for tricky panel inlays or signage hero cuts. But if your workpiece isn’t secured, you don’t get a second shot, slippage ruins sheet, bit, and sometimes even your spindle. Most CNC failures inside the first 10 jobs trace to poor clamping rather than software or toolpath gremlins. West Rand service shops and FET college benches see the same issue each term: clamps go missing, or teams trust spray adhesive because it seems quicker.
Power cuts can make things worse. Power trips or brownouts can loosen weak clamps while you’re not looking, especially on 18 mm MDF or ply. Durban and PE crews also report clamp drift from coastal humidity swelling scrap or bench blocks. Starter benches in Tyger Valley or Sunnyrock Trade Yard have to deal with Highveld dust, which acts like grit under cheap clamp feet.
South African Floors: What Trips Up the First Jobs
Most local CNCs sit on simple concrete pads, raised timber runners, or retrofit floor tiles. These aren’t always level. When your bed isn’t true, even a half-millimetre gap under your work piece can let vibration creep in. It’s a big reason why trade counters see so many clamp returns or requests for wider footplates after the CNC is delivered. You can’t always install a vacuum hold-down right away, they pull well on melamine but waste half their pull to leaks with ply or rough MDF, especially in smaller Cresta and Boardwalk bays.
Yard teams at Germiston or shopfitters setting up in mall trade units must keep a few G-clamps or cam-style hold-downs by the bench, not just for the main job but for any test or correction cut. You need to check the bench at the start of every shift, not just once a week.
Method: Clamp Choices and Records That Matter
Start by matching your clamp type to your projects: classic step clamps for thick pine, cam clamps for quick repositioning, and T-track kits for batch jobs on signboard. For teams running aluminium bar or composite, add non-marring pads. Each clamp slot or fixing should be logged, more than half of first faults in panel shops come from operators who guess at where the last team left the kit. Print out a quick schematic of your bench, mark clamp positions, and keep it on the wall.
It’s easy to think your clamp set will stay together, but clamps drift to other benches. Label each with your bay number and log damaged or missing parts right after every shift. Record power-cut times too if the clamp kit was mid-job.
- Check clamps for buried sawdust before each job.
- Test clamp tightness at each corner; don’t trust feel alone.
- Log the clamp position & job in your shift record.
- Swap out springs or feet before failure, not after.
Short Worked Example: Mall Bay Setup
Take a fresh starter bench at Menlyn. The supplier drops in a bench dog kit, 8 step clamps, and 2 cam handles. You’re running 16 mm white MDF name boards for a retail kiosk. First, dust the bench, check the tabletop for high spots near each clamp position, and make sure your aluminium rails are finger-tight, not over torqued.
When loading the sheet, drop every clamp onto logs that match your job schematic, keep it visible. Once power is back, every clamp gets a recheck, corners first. After the last cut, update your clamp list and note if any held less than perfect. You’ll have to redo it for next time if you skip that note, a lot of teams forget the small stuff, and that’s what wrecks boards.
Get a practical pick reply
One email with your city and the work on the week. We send a short list that matches how SA shops actually run.